How to Setup Intellij IDEA
Intellij IDEA is a Java IDE by Jetbrains. It's a cool tool to use that helps make efficient code and test what your program does.
How to Download Intellij IDEA
Intellij IDEA has two versions: Ultimate and Community. Ultimate is the paid one. Community is free but has less features. This guide will cover how to setup the Community version.
- Go to the Intellij IDEA download page.

- Scroll down to the Intellij IDEA Community Edition section.

- Click on the download button to download the installer. If you prefer a ZIP download, click on the dropdown to the right of the download button and select ZIP.
![]()
- In the meantime, you might want to install a Java Development Kit (JDK) while waiting for the download to finish.
Going through the Intellij IDEA Installer
Installing is as simple as running the installer and going through the installation instructions.
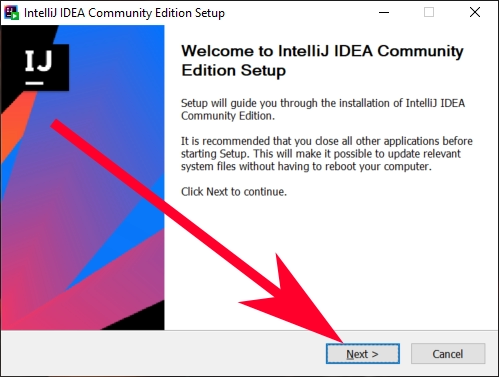
- Run the installer by double-clicking the idealC installer program.
- While it is recommended to close all other apps when running an installer program, this is not necessarily a requirement. You can do this while coding, watching YouTube videos, or playing computer games like Dota 2 as long as your PC is not freezing.
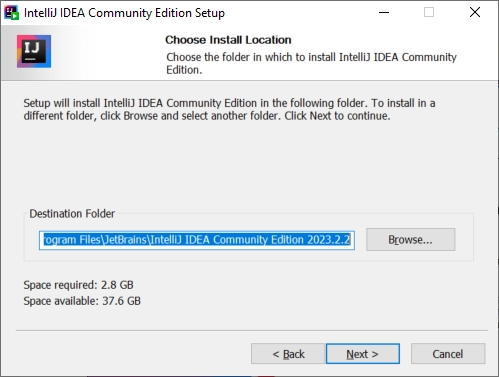
- The next page lets you pick a destination folder for instlaling Intellij IDEA. By default, this leads to your Program Files folder on Windows.
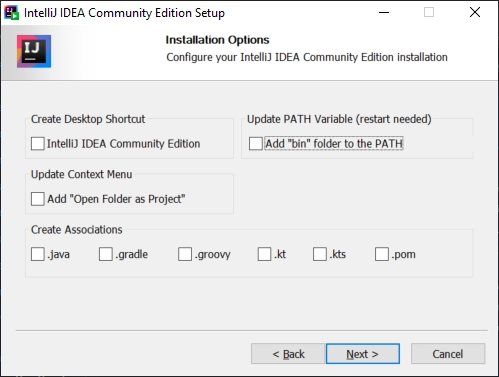
- Clicking next brings you to the Installation Options page. It contains the following options:
- Create Desktop Shortcut: Makes a shortcut on your desktop so you can easily run Intellij IDEA as soon as you open your PC.
- Update Context Menu: If you want to open a folder in Intellij through your File Explorer, check on this.
- Create Associations: Lets you automatically run the associated file types with Intellij when you double-click on them, much like what you do with .doc and .txt files.
- Update PATH Variable: This adds Intellij in your system environment so other IDEs, editors, and the Command Prompt can link to Intellij when they need it.
Note: It's worth noting that these are all for personalization purposes. You don't really need to select any of these, but they're helpful when you need them on your PC.
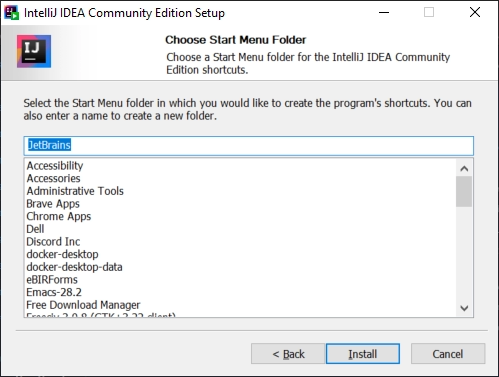
- The last setting is the Start Menu Folder. It's best to just let this be with the default, unless you don't want your JetBrains programs nestled together under the JetBrains folder.
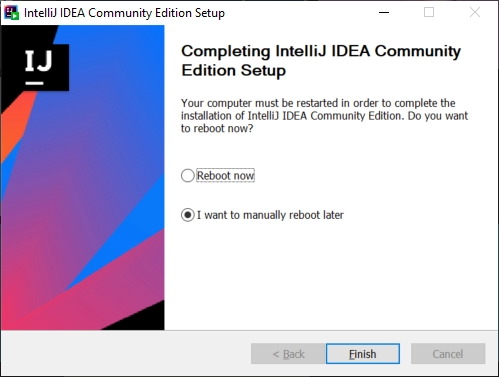
- Upon clicking install, the Intellij IDEA installer will start doing its thing until you have the world's best IDE right on your fingertips! (Right after selecting whether to reboot now or later...)
Creating a New Project with Intellij IDEA
To make a new Java project using Intellij, you will need a Java Development Kit (JDK). It's a suite of tools that forms the heart of any Java development environment. To set one up, follow our guide on setting up OpenJDK.
Note: For compatibility purposes, we are all using JDK 17. The latest one so far is JDK 21; do not use that.
- Click on New Project.
![]()
- A new tab will pop up. Fill out the name with the name of your project.
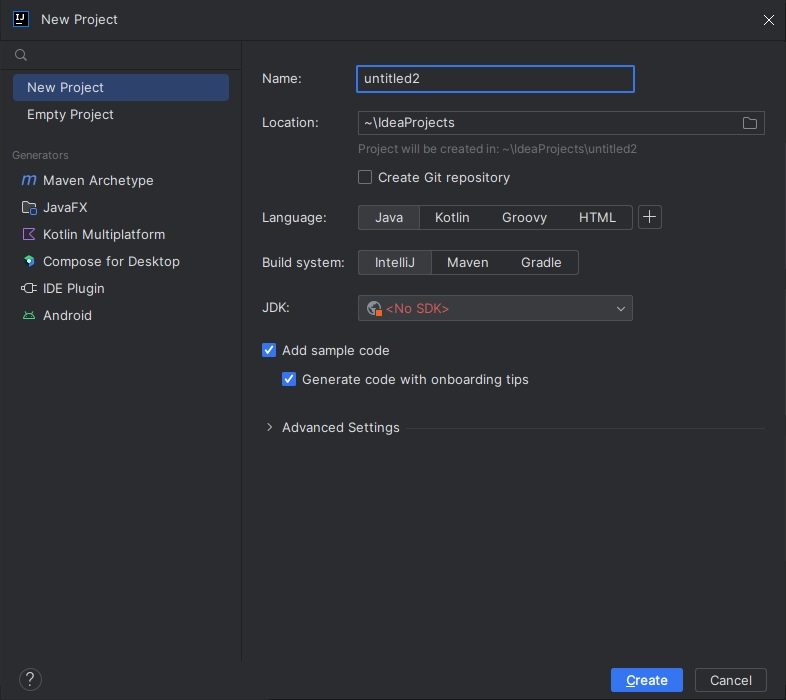
- Decide the location for your project. By default, your project will have its own folder within the IdeaProjects folder.
![]()
- If you want to initialize a Git repository for your project, click on the Create Git repository checkbox.
![]()
- Select Java as your Language.
![]()
- Select Intellij as the Build System.
![]()
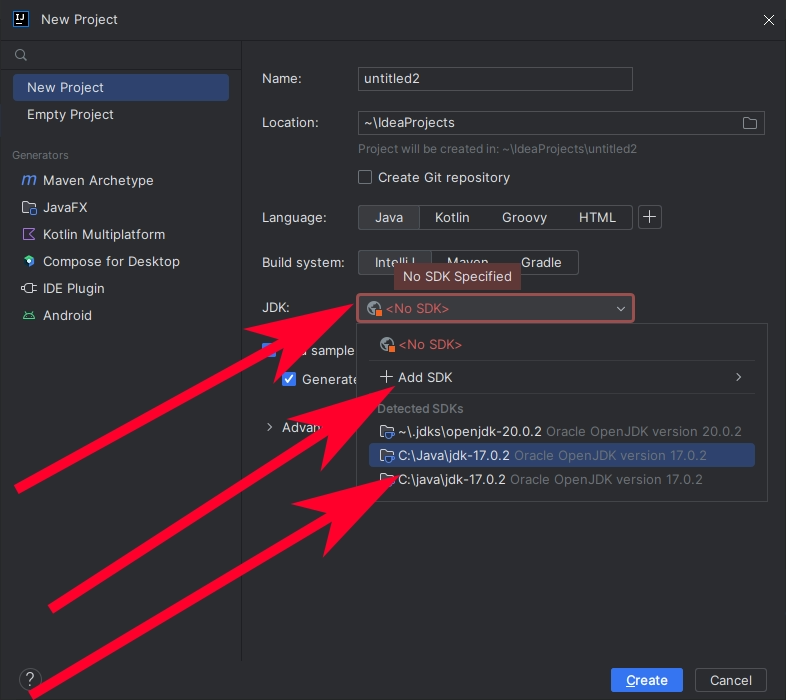
- For JDK, select 17 or Oracle OpenJDK version 17.0.0.
- If you are still trying to learn how Java works, you might want to leave the Add sample code checkbox checked.
![]()
- Click on Create to make a new project.
![]()
With that, you're ready to take on your new Java project. Good luck and good hunting coding!